The GoProfiles Slack App allows you to bring the GoProfiles platform for creating and maintaining employee connections to your Slack App! It allows you to celebrate employee achievements, foster strong bonds within your team, and provide the context needed for effective collaboration and connection as you use Slack. This article is meant to assist with detailing how to use GoProfiles within the Slack app.
Adding GoProfiles to Slack
- First, you’ll want to navigate to your GoProfiles dashboard, and click “Integrations” on the left hand navigation rail.
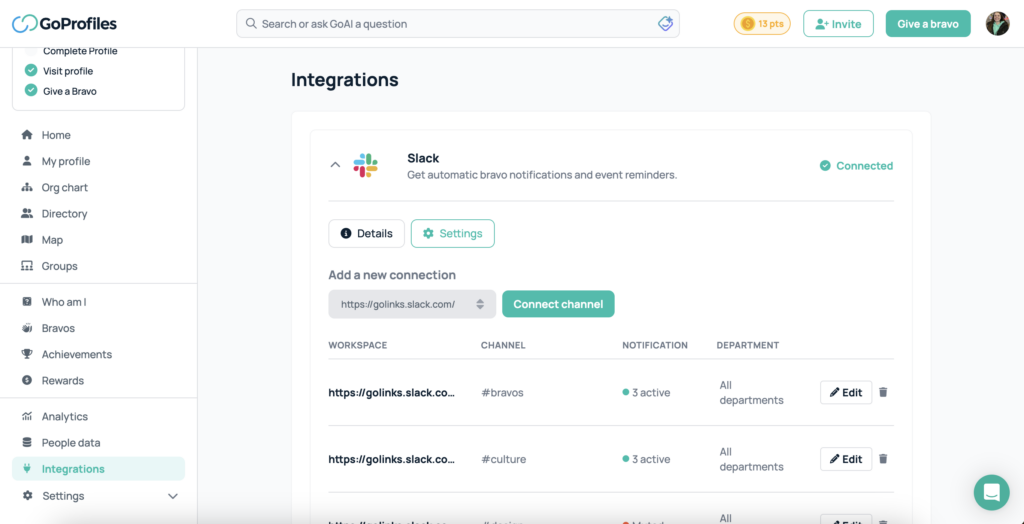
- Next, select “connect” and GoProfiles will request permission to access your organization’s Slack workspace. Select “Allow”.
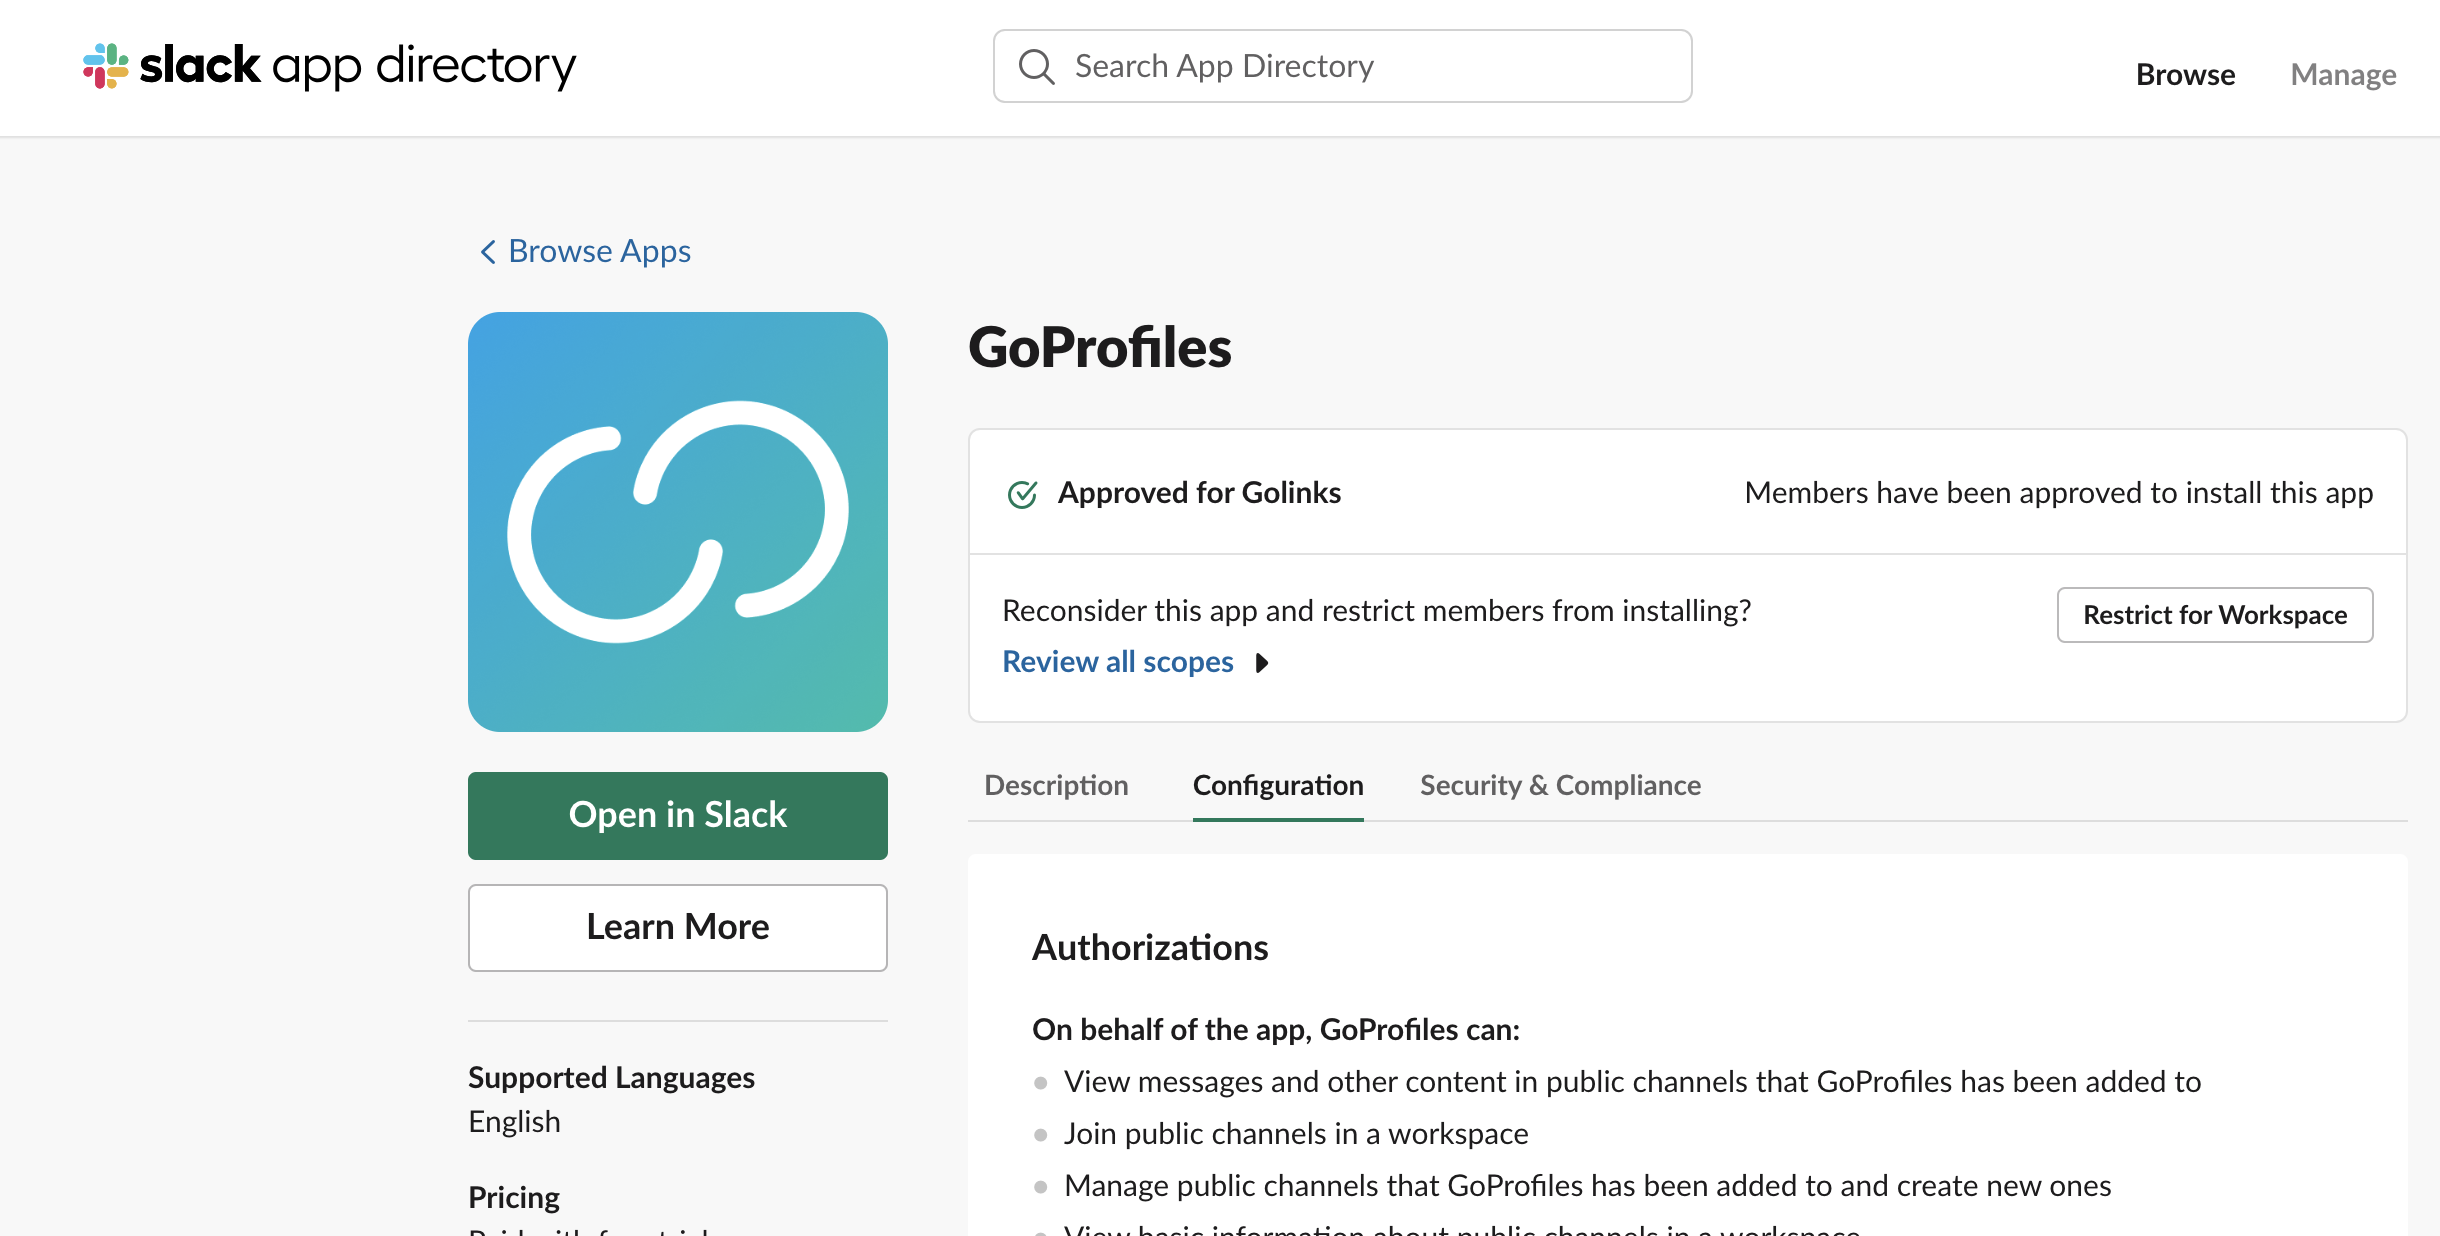
- Once added you will be redirected to Slack. If Slack does not open immediately, you can navigate to the GoProfiles Slack app directory page listed here and click “Open in Slack”.
- Once Slack is open, you will notice the “GoProfiles” icon located under “Apps” in the Channels column.
Connecting a channel
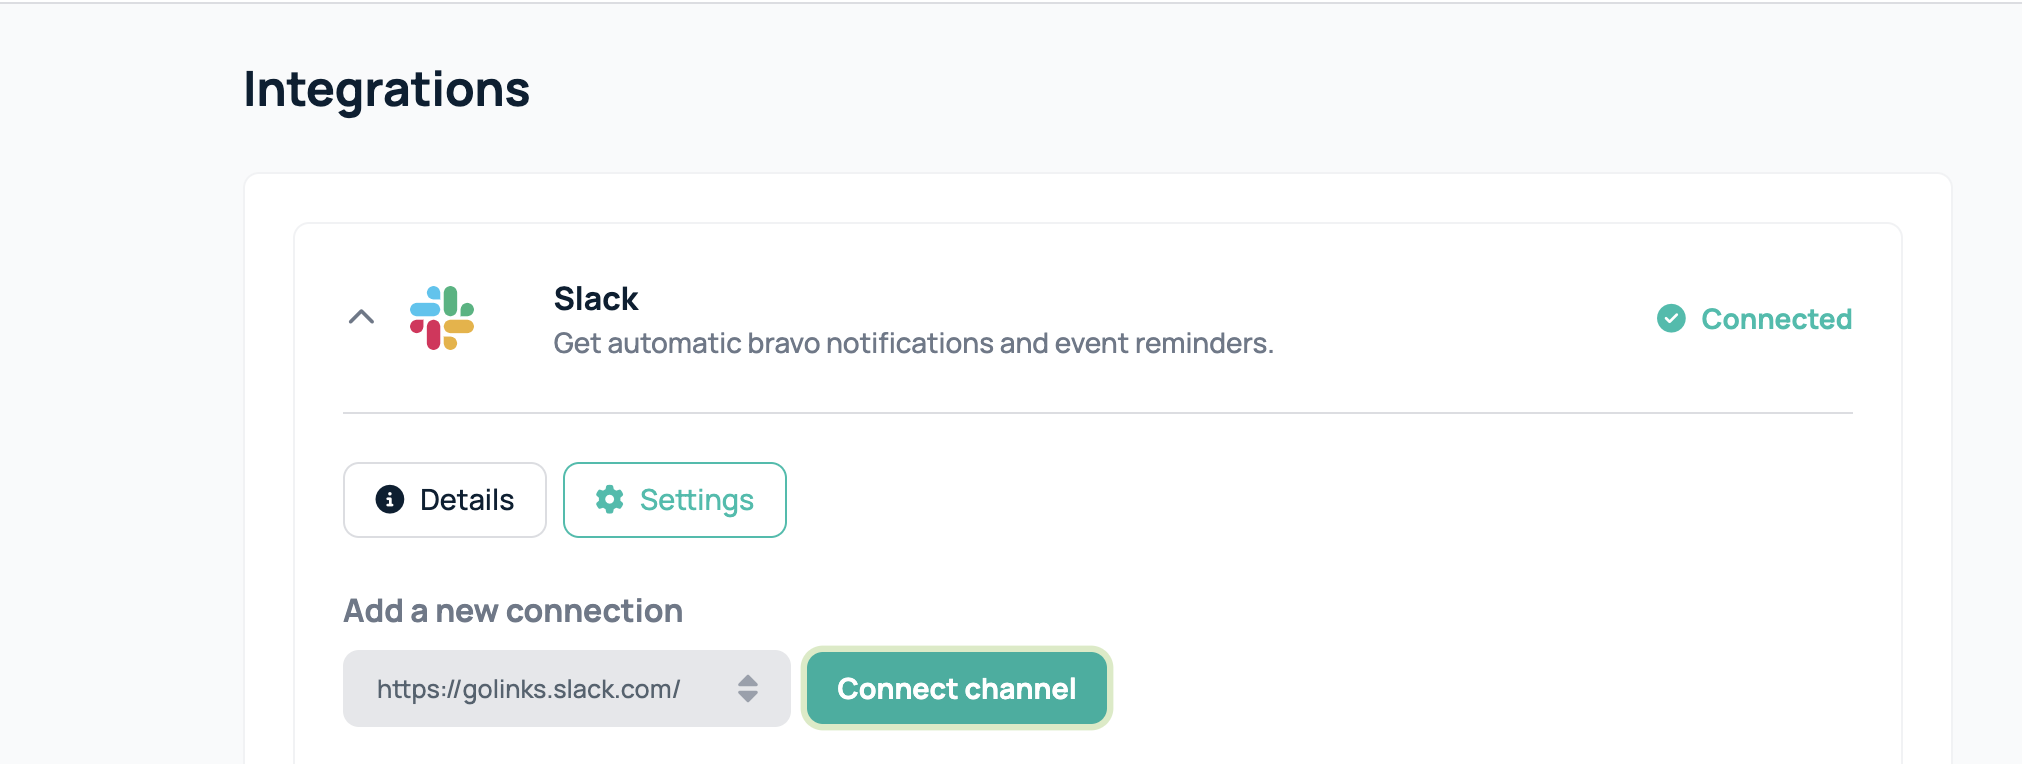
- Navigate back to the Integrations page on the GoProfiles dashboard, and click the dropdown next to your connected Slack integration.
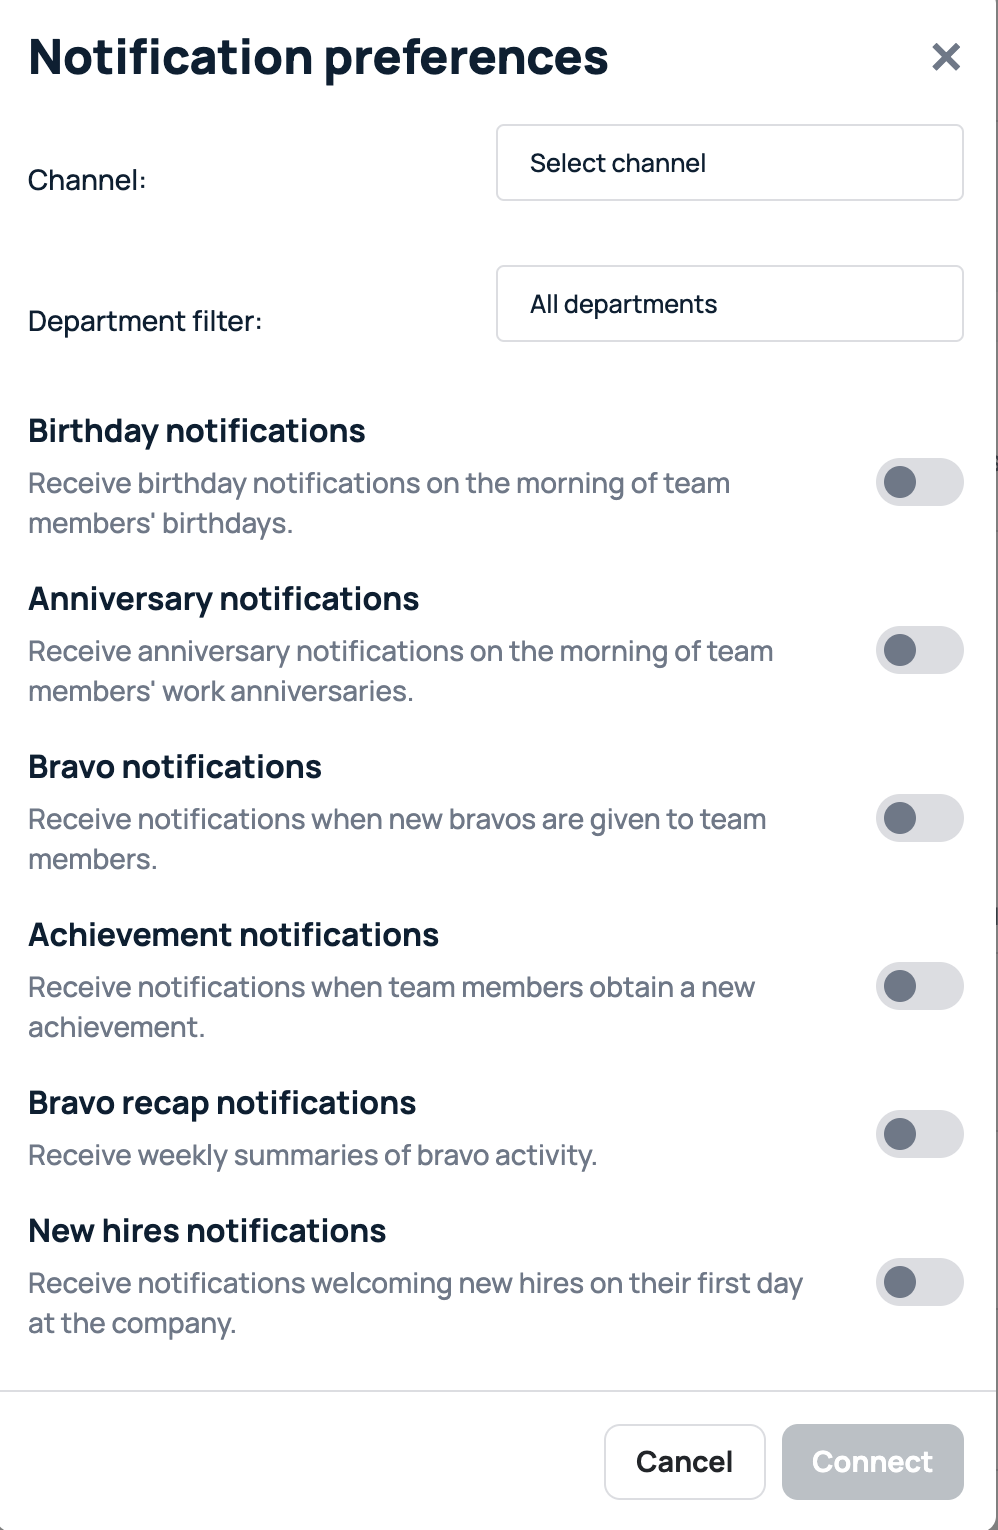
- Select “Connect channel” for a pop up modal for “Notification Preferences” to appear on the screen.
- From here, you can select the channel you’d like the GoProfiles Slack app to be in, select the department you’d like to be able to receive notifications, and then customize what notifications you’d like to appear in the channel.
- After clicking “Connect”, you’ll see the connection appear in your connections list and the integration will be completed. Now, any notifications you’ve configured will display in this channel.
Giving a Bravo via Slack
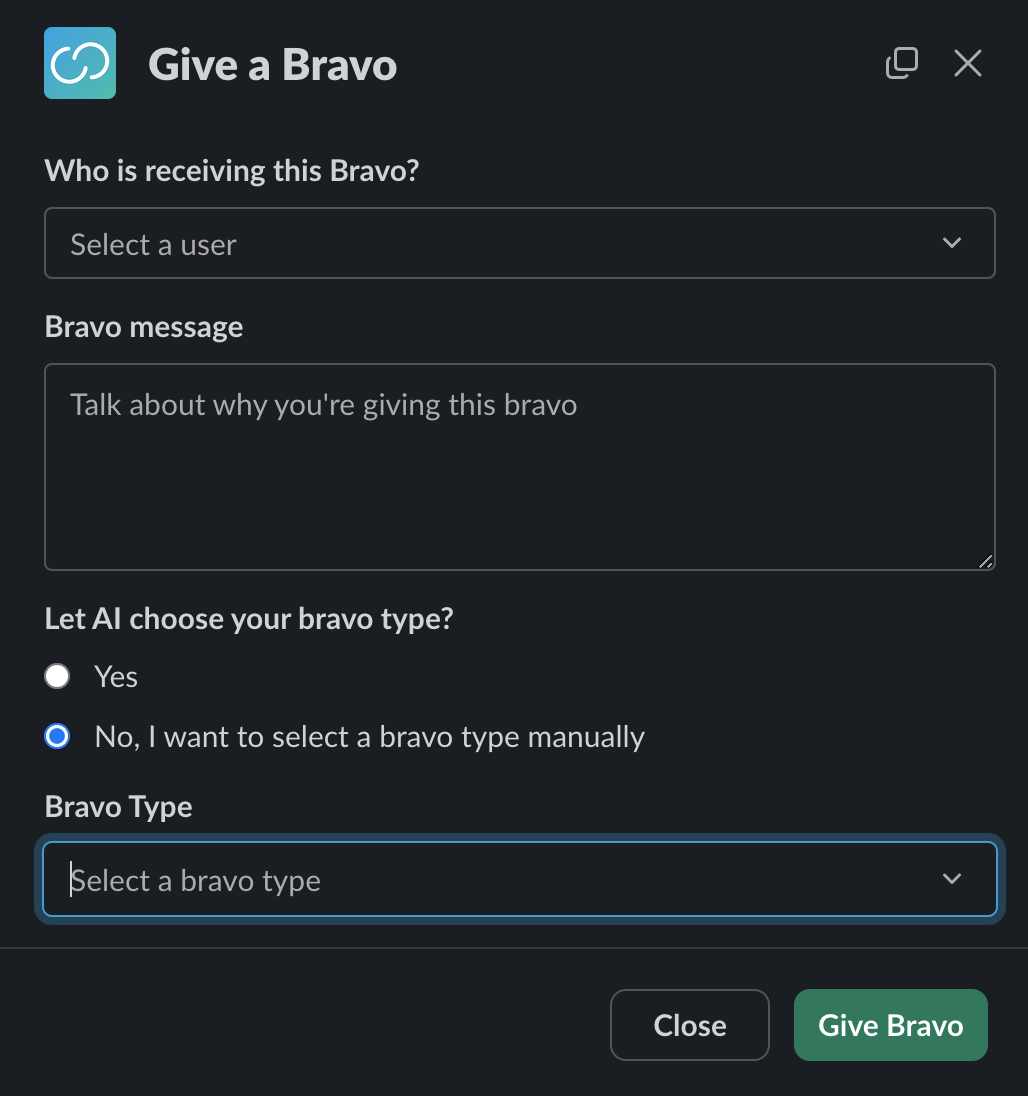
- Navigate to any Slack channel or DM and type “/givebravo” and hit enter.
- A modal will pop up prompting you to fill out the following fields to give your bravo:
- Select the user you want to give the Bravo to, and enter the message you’d like to send for your Bravo.
- You can also choose to allow AI to decide what Bravo type to give based on the message you typed.
- If you’d like to select the Bravo type yourself, you can click “No, I want to select a bravo type manually” and then click the drop down for “Bravo Type” to select.
- Lastly, click “Give Bravo” to complete.
Questions?
If you have any questions, comments, or suggestions, feel free to reach out to our support team. You can reach us using the support chat in the bottom right corner, or by emailing support@goprofiles.io. Additionally, if you’d like to learn more about our other integrations, you can do so here.
