This article is meant to provide you insight on what you should expect to see when attempting to connect Workday to GoProfiles with your Customer Success Manager.
Overview
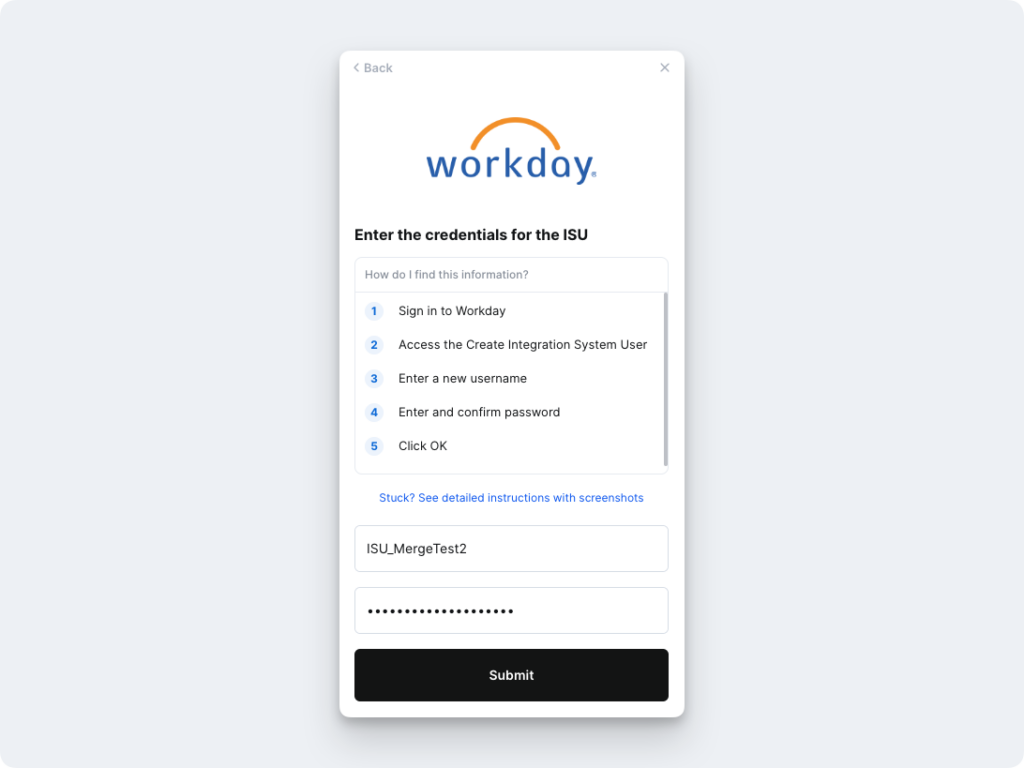
To authenticate your Workday account, you will need to provide the following information:
- WSDL
- ISU Username
- ISU Password
- Workday Tenant Name
Prerequisites
Please ensure you have Administrator permissions in your company’s Workday instance.
Instructions
Step 1: Create an Integration System User (ISU).
- In your Workday portal, log into the Workday tenant.
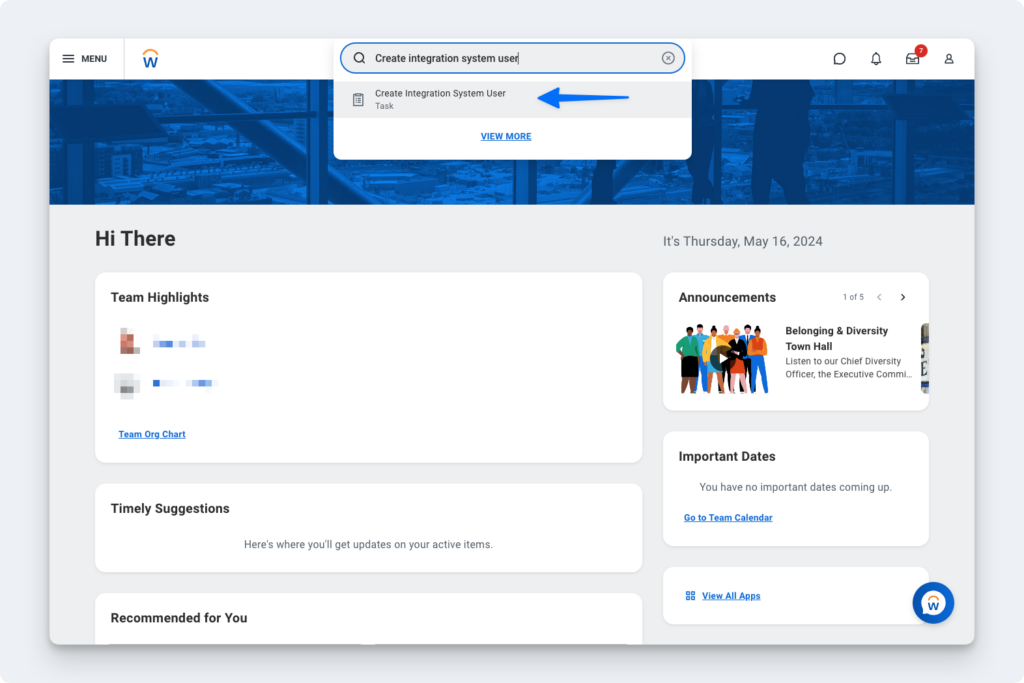
- In the Search field, type Create Integration System User.
- Select the Create Integration System User task.
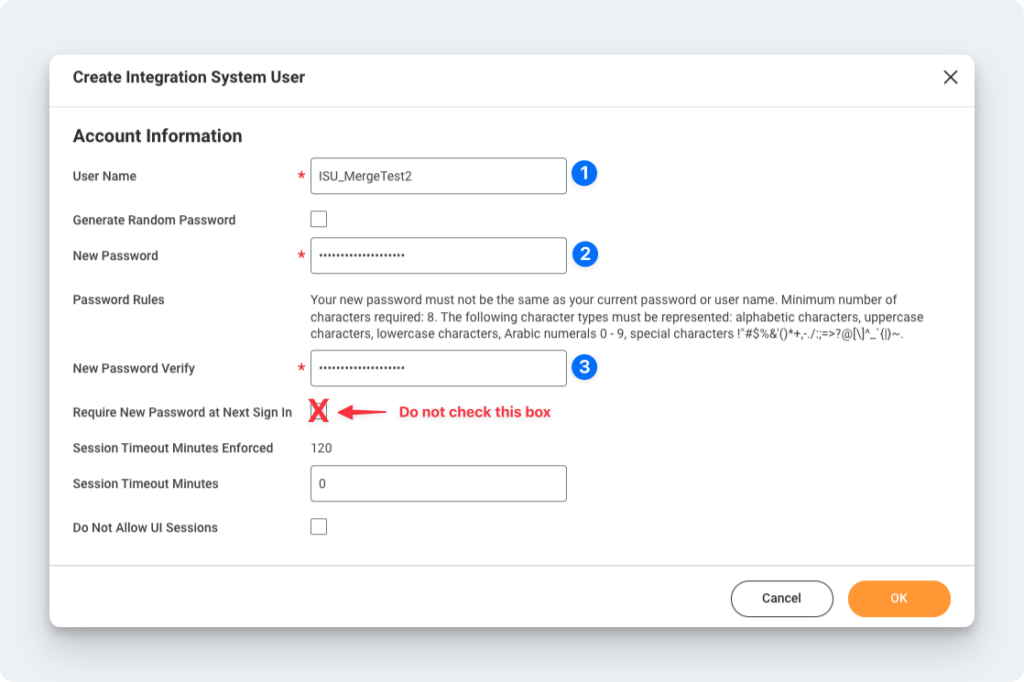
- On the Create Integration System User page, in the Account Information section, enter a user name, and enter and confirm a password.
- Ensure the Require New Password at Next Sign In box is not selected and click OK.
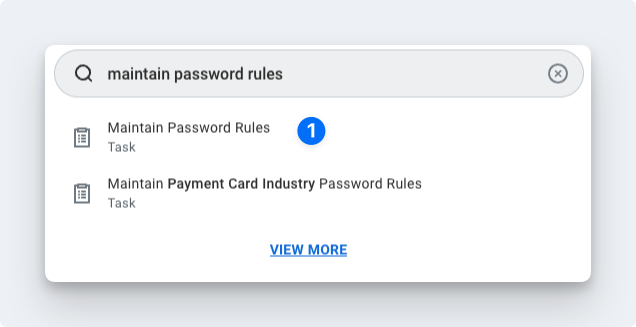
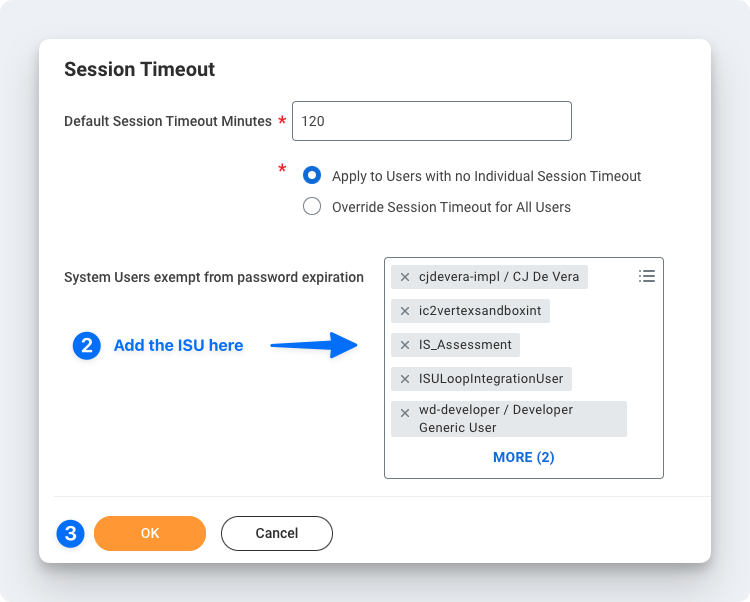
- To ensure the password doesn’t expire, you’ll want to add this new user to the list of System Users. To do this, search for the Maintain Password Rules task.
Step 2: Create a Security Group and assign an Integration System User.
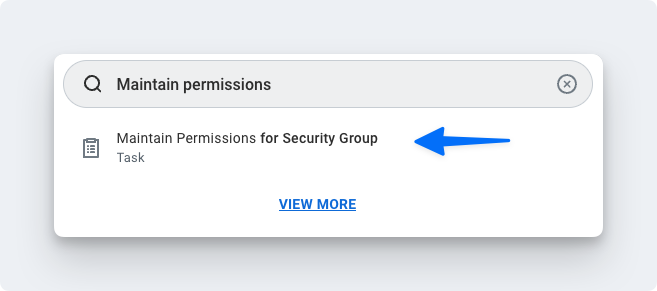
- In the Search field, type Create Security Group.
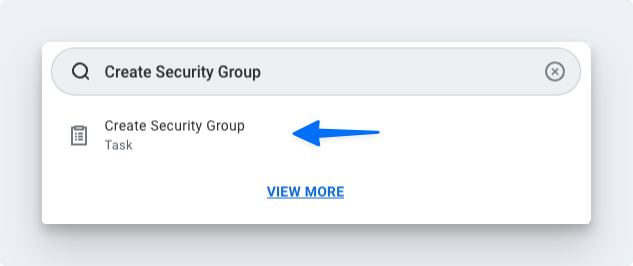
- Select the Create Security Group task.
- On the Create Security Group page, select Integration System Security Group (Unconstrained) from the Type of Tenanted Security Group pull-down menu.
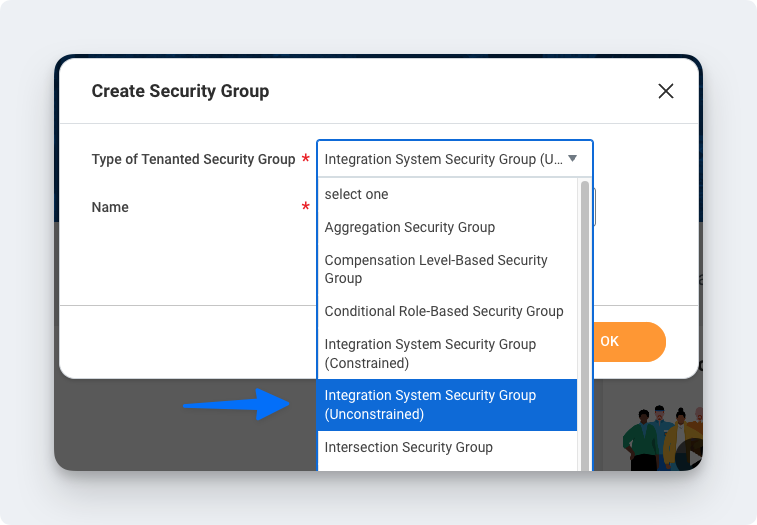
- In the Name field, enter a name and click OK.
- On the Edit Integration System Security Group (Unconstrained) page, in the Integration System Users field, enter the same name you entered when creating the ISU in the first section.
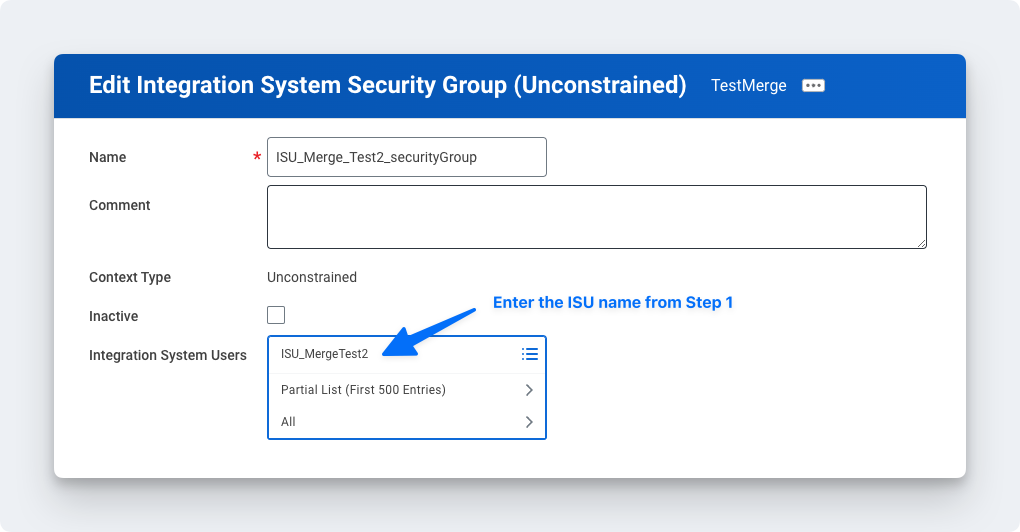
- Click OK.
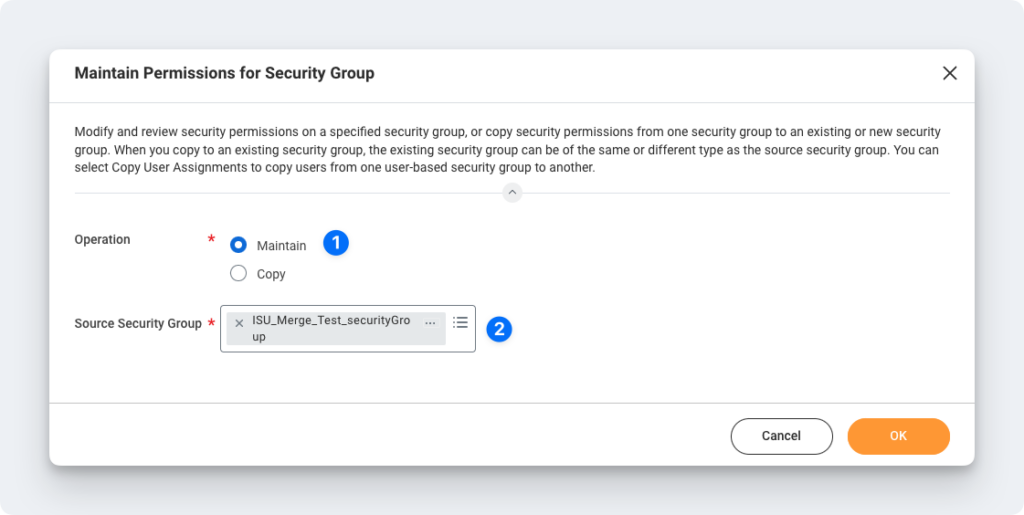
Step 3: Configure domain security policy permissions.
- Make sure the Operation is Maintain, and the Source Security Group is the same as the security group that was assigned in Step 2.
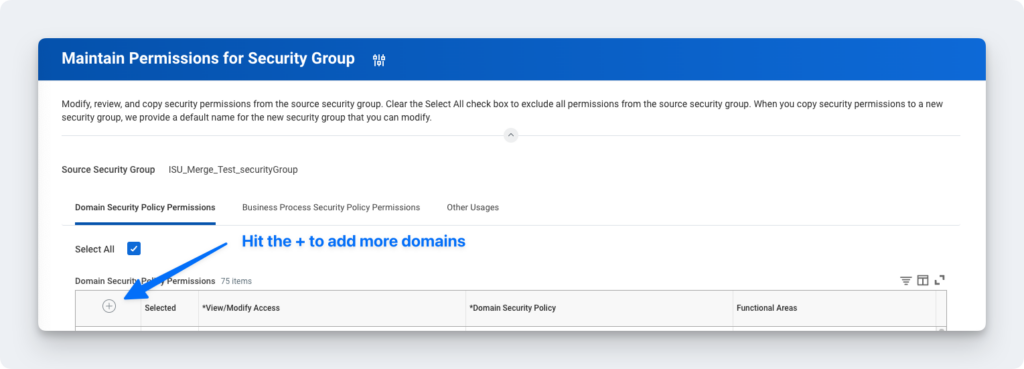
- On the next screen, add the corresponding Domain Security Policies depending on your use case:
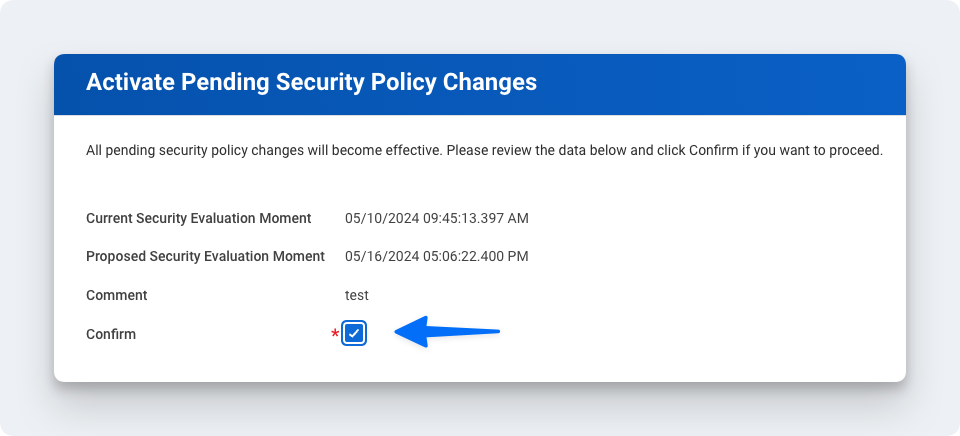
Step 4: Activate security policy changes.
- In the search bar, type “Activate Pending Security Policy Changes” to view a summary of the changes in the security policy that needs to be approved.

- Add any relevant comments on the window that pops up.
- Confirm the changes in order to accept the changes that are being made and hit OK.
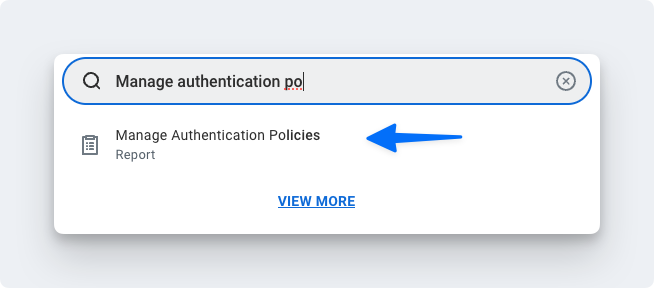
Step 5: Validate the authentication policy is sufficient
Note: You don’t have to create a new Authentication Rule if you already have an existing one set to User Name Password or Any. You can instead add the ISU to that existing rule.
You will need to create a new rule if SAML is the only Authentication Rule you see for “Allowed Authentication Types.”
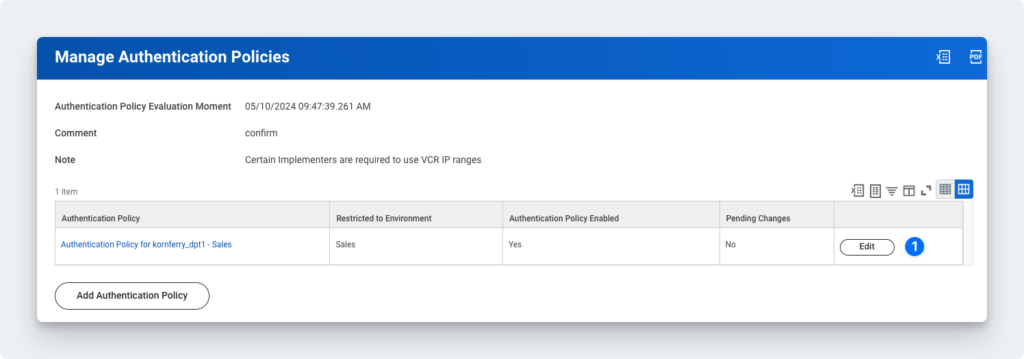
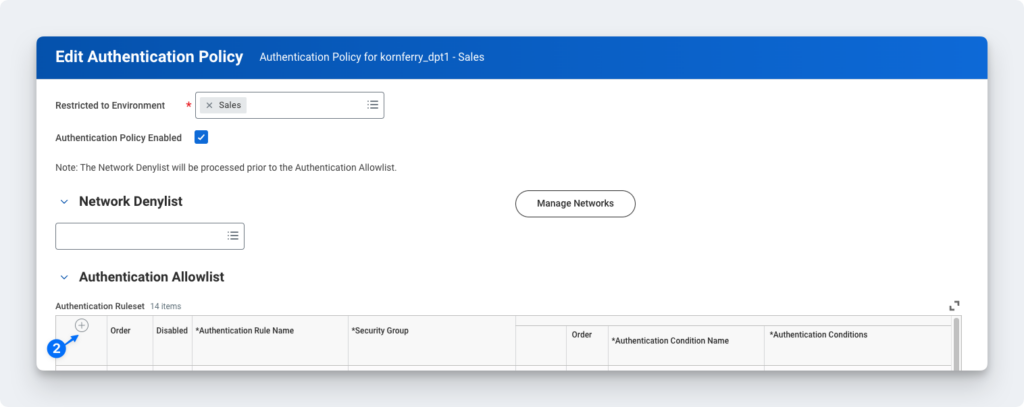
- Click Edit on the authentication policy row.
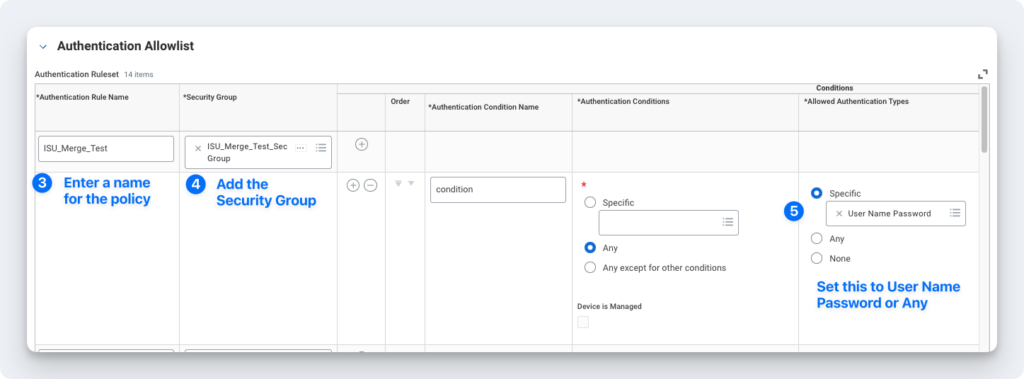
- Create an Authentication Rule.
- Enter a name, add the Security Group, and ensure Allowed Authentication Types is set to Specific User Name Password or Any.
Step 6: Activate all pending authentication policy changes.
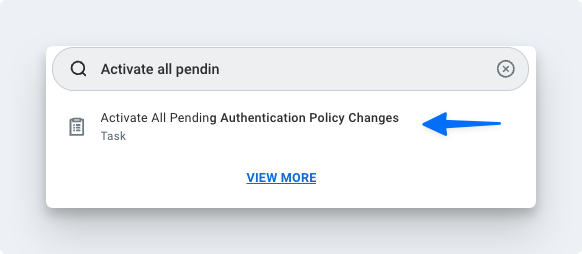
- Proceed to the next screen and confirm the changes. This will save the Authentication Policy that was just created or edited.
Step 7: Obtain the web services endpoint URL.
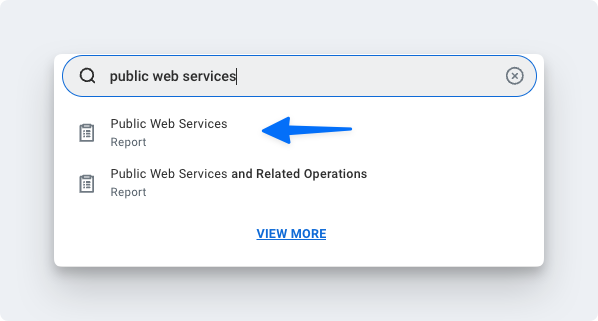
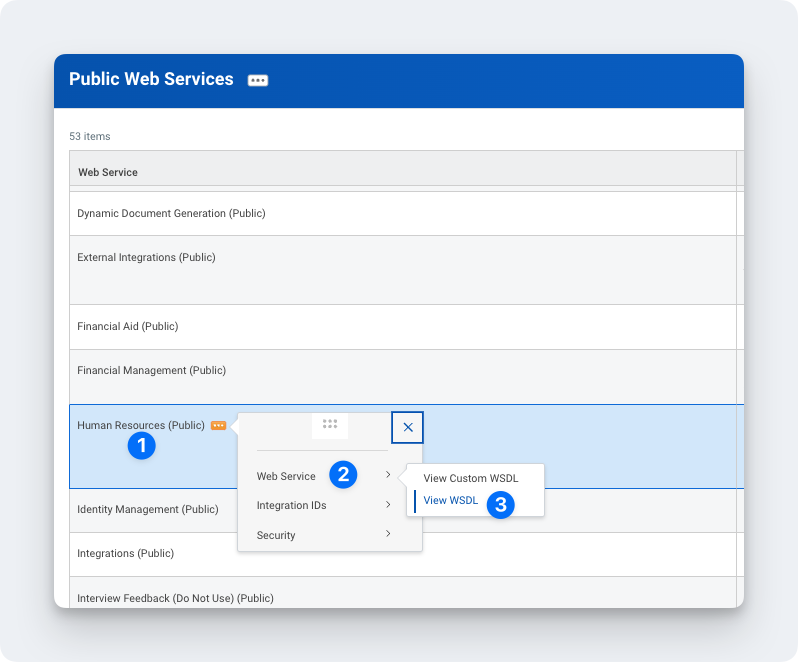
- Find Human Resources (Public).
- Click the three dots to access the menu.
- Click Web Services > View WSDL.
- Navigate to the bottom of the page that opens.
- Copy the full URL provided under Human_ResourcesService (Workday HRIS). The URL will have a format similar to
https://wd2-impl-services1.workday.com/ccx/service/acme/Human_Resources/v43.0

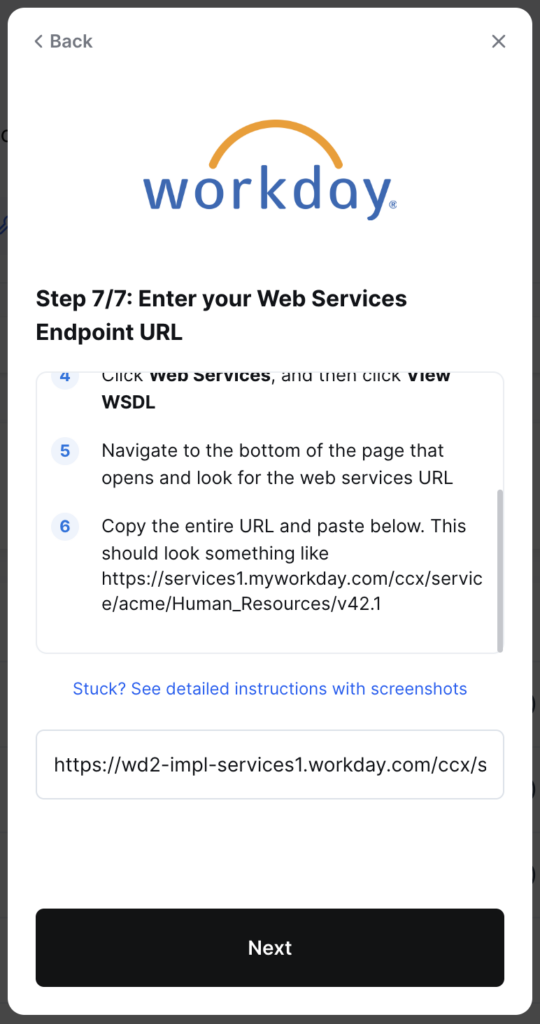
- Click Submit.
Note
- Implementation/sandbox tenant Workday accounts will result in slower syncs, as fewer resources are dedicated to the tenant
- In order to increase resourcing for API limits for your Workday tenant, please reach out to Workday Support or your Workday Customer Account Manager.
- You can submit a request to Workday Support through the Workday Community support portal.
You should now be able to set up the Workday Data Connector with your Customer Success Manager. If you need further assistance, please consult the GoProfiles Help Center or Chat with Us.


